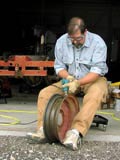
Here I am set up, outside the garage door, wire brushing one of the wheels.
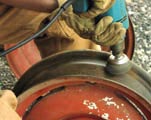
I decided to use a wire brush instead of sandblasting on the inside of the wheels, that way I could enjoy the view from the front of the garage. My sand blast booth is in the back of the garage.
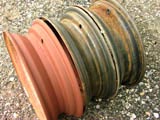
Here are the three stages of wheel reconditioning. On the far right wheel, you can see extensive rust around the tube nipple hole. The wire brush did a very good job of cleaning all the rust scale off the middle wheel. The primed wheel on the left looks pretty clean, once it is all repainted to one color.
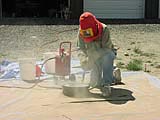
To clean the inside and outside faces of each wheel, I set up a sand blast operation in my driveway. I put a tarp on the ground to capture as much of the sand as I could. The little red tank is my pressure pot. The breeze carried away the fine dust, but most of the sand landed upon the tarp so I could reuse it.
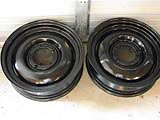
The wheel on the right is what I want all the wheels to look like. I tried to clean the left wheel with some steel wool to get rid of some dust that had settled on the paint, but the oil on the steel wool messed up the paint surface. I ended up having to re-sandblast and re-paint the left wheel.


